Hardwood Finishing in Seattle

Hardwood Job in Seattle

A Step-By-Step Roadmap To Hardwood Refinishing​

Step 1: Preparation

  • Remove Furniture: Clear the room of all furniture and rugs.
  • Check for Nails and Staples: Ensure all nails are countersunk and staples or tacks are removed to avoid damaging sanding equipment.
  • Clean the Floor: Sweep and vacuum the floor thoroughly to remove all dust and debris.

Step 2: Sanding

  • Coarse Sanding: Start with a coarse-grit sandpaper (around 36-grit) to remove the old finish and level the floor.
  • Edge Sanding: Use an edge sander to reach the areas where the drum sander can’t, like corners and along baseboards.
  • Medium Sanding: Move to a medium-grit sandpaper (around 50-60 grit) to further smooth the wood.
  • Fine Sanding: Finish with a fine-grit sandpaper (around 80-100 grit) to achieve a smooth finish.
  • Detail Sanding: Hand sand or use a detail sander for corners and hard-to-reach areas.

Step 3: Repair and Patch

  • Fill Gaps: Use wood filler to fill any gaps or holes in the floor.
  • Let Dry: Allow the filler to dry completely, following the manufacturer’s instructions.

Step 4: Buffing

  • Buff the Floor: Use a buffer to smooth out any sanding marks and prepare the wood for staining.

Step 5: Cleaning

  • Vacuum: Thoroughly vacuum the floor to remove all sanding dust.
  • Tack Cloth: Go over the floor with a tack cloth to pick up any remaining fine particles.

Step 6: Staining (Optional)

  • Apply Stain: If desired, apply a wood stain using a rag or brush, working in sections and going with the grain.
  • Wipe Off Excess: Wipe off any excess stain with a clean rag and allow it to dry as per the stain manufacturer’s instructions.

Step 7: Sealing

  • Apply Sealer: Apply a thin coat of sealer to protect the wood and to prepare it for the final finish.
  • Dry: Allow the sealer to dry thoroughly.

Step 8: Finishing

  • Apply Finish: Apply the first coat of your chosen finish (polyurethane, varnish, etc.).
  • Sanding Between Coats: Once dry, lightly sand the floor with a fine-grit sandpaper or screen.
  • Clean: Vacuum and tack cloth the floor again to remove dust.
  • Apply Additional Coats: Apply a second (and third if desired) coat of finish, sanding and cleaning between each coat.

Step 9: Final Touches

  • Curing: Allow the final coat to cure. The floor should be dry to touch within hours, but avoid heavy furniture and regular traffic for several days to a week.
  • Reinstall Baseboards: If baseboards were removed, reinstall them after the final coat is dry.

Step 10: Maintenance

  • Regular Cleaning: Keep the floors clean and free from debris.
  • Protective Pads: Use felt pads under furniture legs to prevent scratches.
  • Rugs and Mats: Place rugs or mats at entryways to catch dirt.


Different Finishes Offered

Water Based

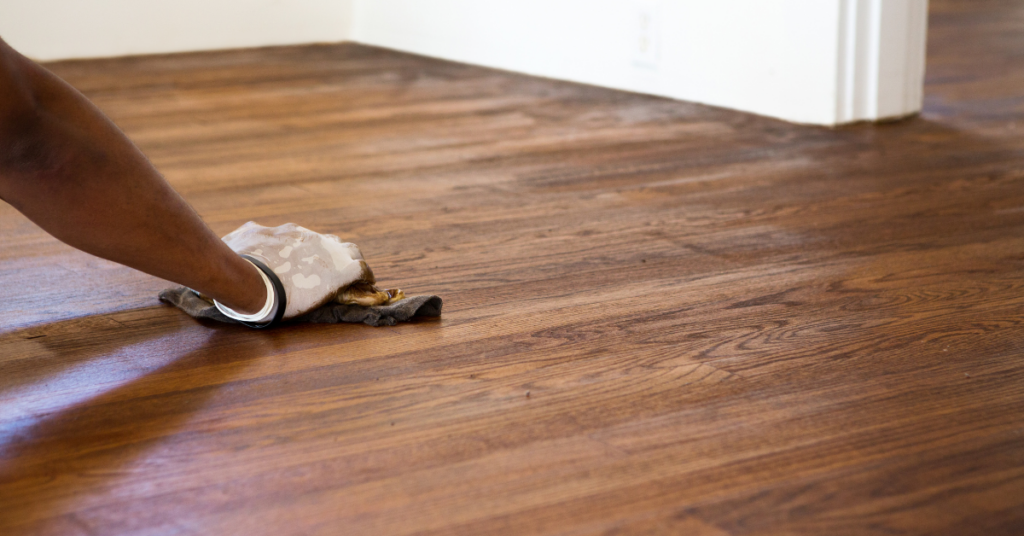
Water-Based Polyurethane: This finish is clear and will resist turning yellow over time. It dries quickly, has a low odor, and is easy to clean up with soap and water. It's also less toxic than oil-based finishes.

Oil Based

Oil-Based Polyurethane: Known for its durability, this finish imparts a warm glow to the wood. It takes longer to dry and has a stronger odor compared to water-based polyurethane. It's also more resistant to scratches and general wear.

Moisture Care

Moisture-Cure Urethane: Extremely durable and more moisture-resistant than other finishes, moisture-cure urethane is often used in commercial settings. However, it has a very strong odor and should be applied by professionals.

Wax

Wax: A traditional finish that provides a natural, soft sheen. Wax is not as durable as modern polyurethanes and requires more maintenance, but it can be easily touched up and re-buffed.

Oil (Danish or Tung Oil)

Oil (Danish or Tung Oil): These penetrating oils soak into the wood to provide a natural-looking finish that enhances the wood's grain. They are easy to apply and maintain but are less resistant to spills and may require more frequent reapplication.

Shellac

Shellac: This is a natural product that dries quickly to a high-gloss finish. It's not as durable as polyurethane and is sensitive to heat and certain chemicals.

Rise to the top

Restored Beauty:

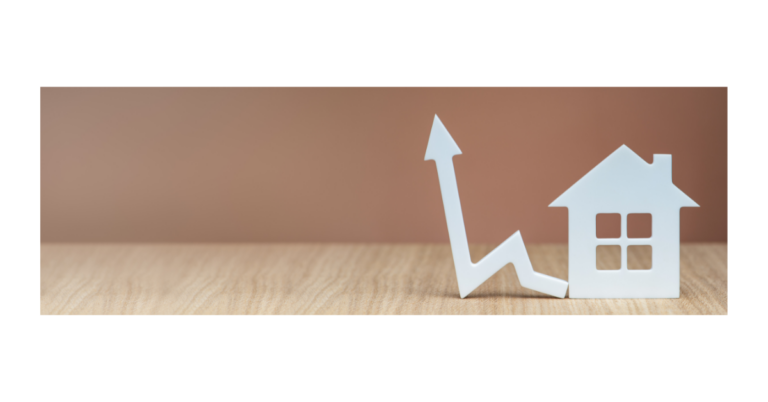
Refinishing removes scratches, dents, and discolorations, restoring the original beauty and luster of the hardwood floors.


count on us

Increased Home Value

Well-maintained hardwood floors are a sought-after feature that can increase the overall value of your home

We strive to make our clients happy

So, let's be happy together

logo of best hardwood company in seattle

We provide expert hardwood flooring services in the Seattle, Washington